A Brief Guide to Brewster Glacier
An incredible three days camping beside a spectacular glacier high in the Southern Alps
For reasons which escape me, Brewster Glacier had never really come onto my radar. After spending three days there back in April I’m now kicking myself it took me so long to get here, as it would undoubtedly be among the most spectacular locations in New Zealand.
Located just on the western side of Haast Pass, Brewster Glacier occupies the southern slopes under Mt Brewster (2,516m). A marked track starts from the valley floor near the Fantail Falls carpark, crossing the Haast River (unbridged) within a couple of minutes of starting. From there it’s a rather brutal and unrelenting 3-hour climb to the 12-bunk Brewster Hut. Beyond the hut the track continues to climb steeply and soon dwindles to a route, marked by cairns but in places difficult to follow (especially in low visibility). The terrain here can be challenging as the route weaves among bluffs and rock slabs. In winter, it becomes serious mountaineering and avalanche country and should only be attempted by the most experienced of parties.
George (my 16-year old son) and I took just over 5 hours from the carpark to reach the meltwater lakes under Brewster Glacier. Total elevation gained is around 1,200 metres. There are several good places to pitch a tent within the rocky terrain.
We stayed for 2 nights and experienced the most amazing weather, we really couldn’t have asked for better. We used our middle day to scramble up to the Main Divide near pt 1951m to check out the panoramic views into the headwaters of the Makarora River and back across Brewster Glacier towards the Haast Valley. It was hot work so afterwards a refreshing (but very quick) dip in the lakes was in order!
Below is a video and several images from the trip. Scroll down to the bottom of the page for safety info, and if you have any questions, please feel free to drop me a comment!
Video highlights from Brewster Glacier
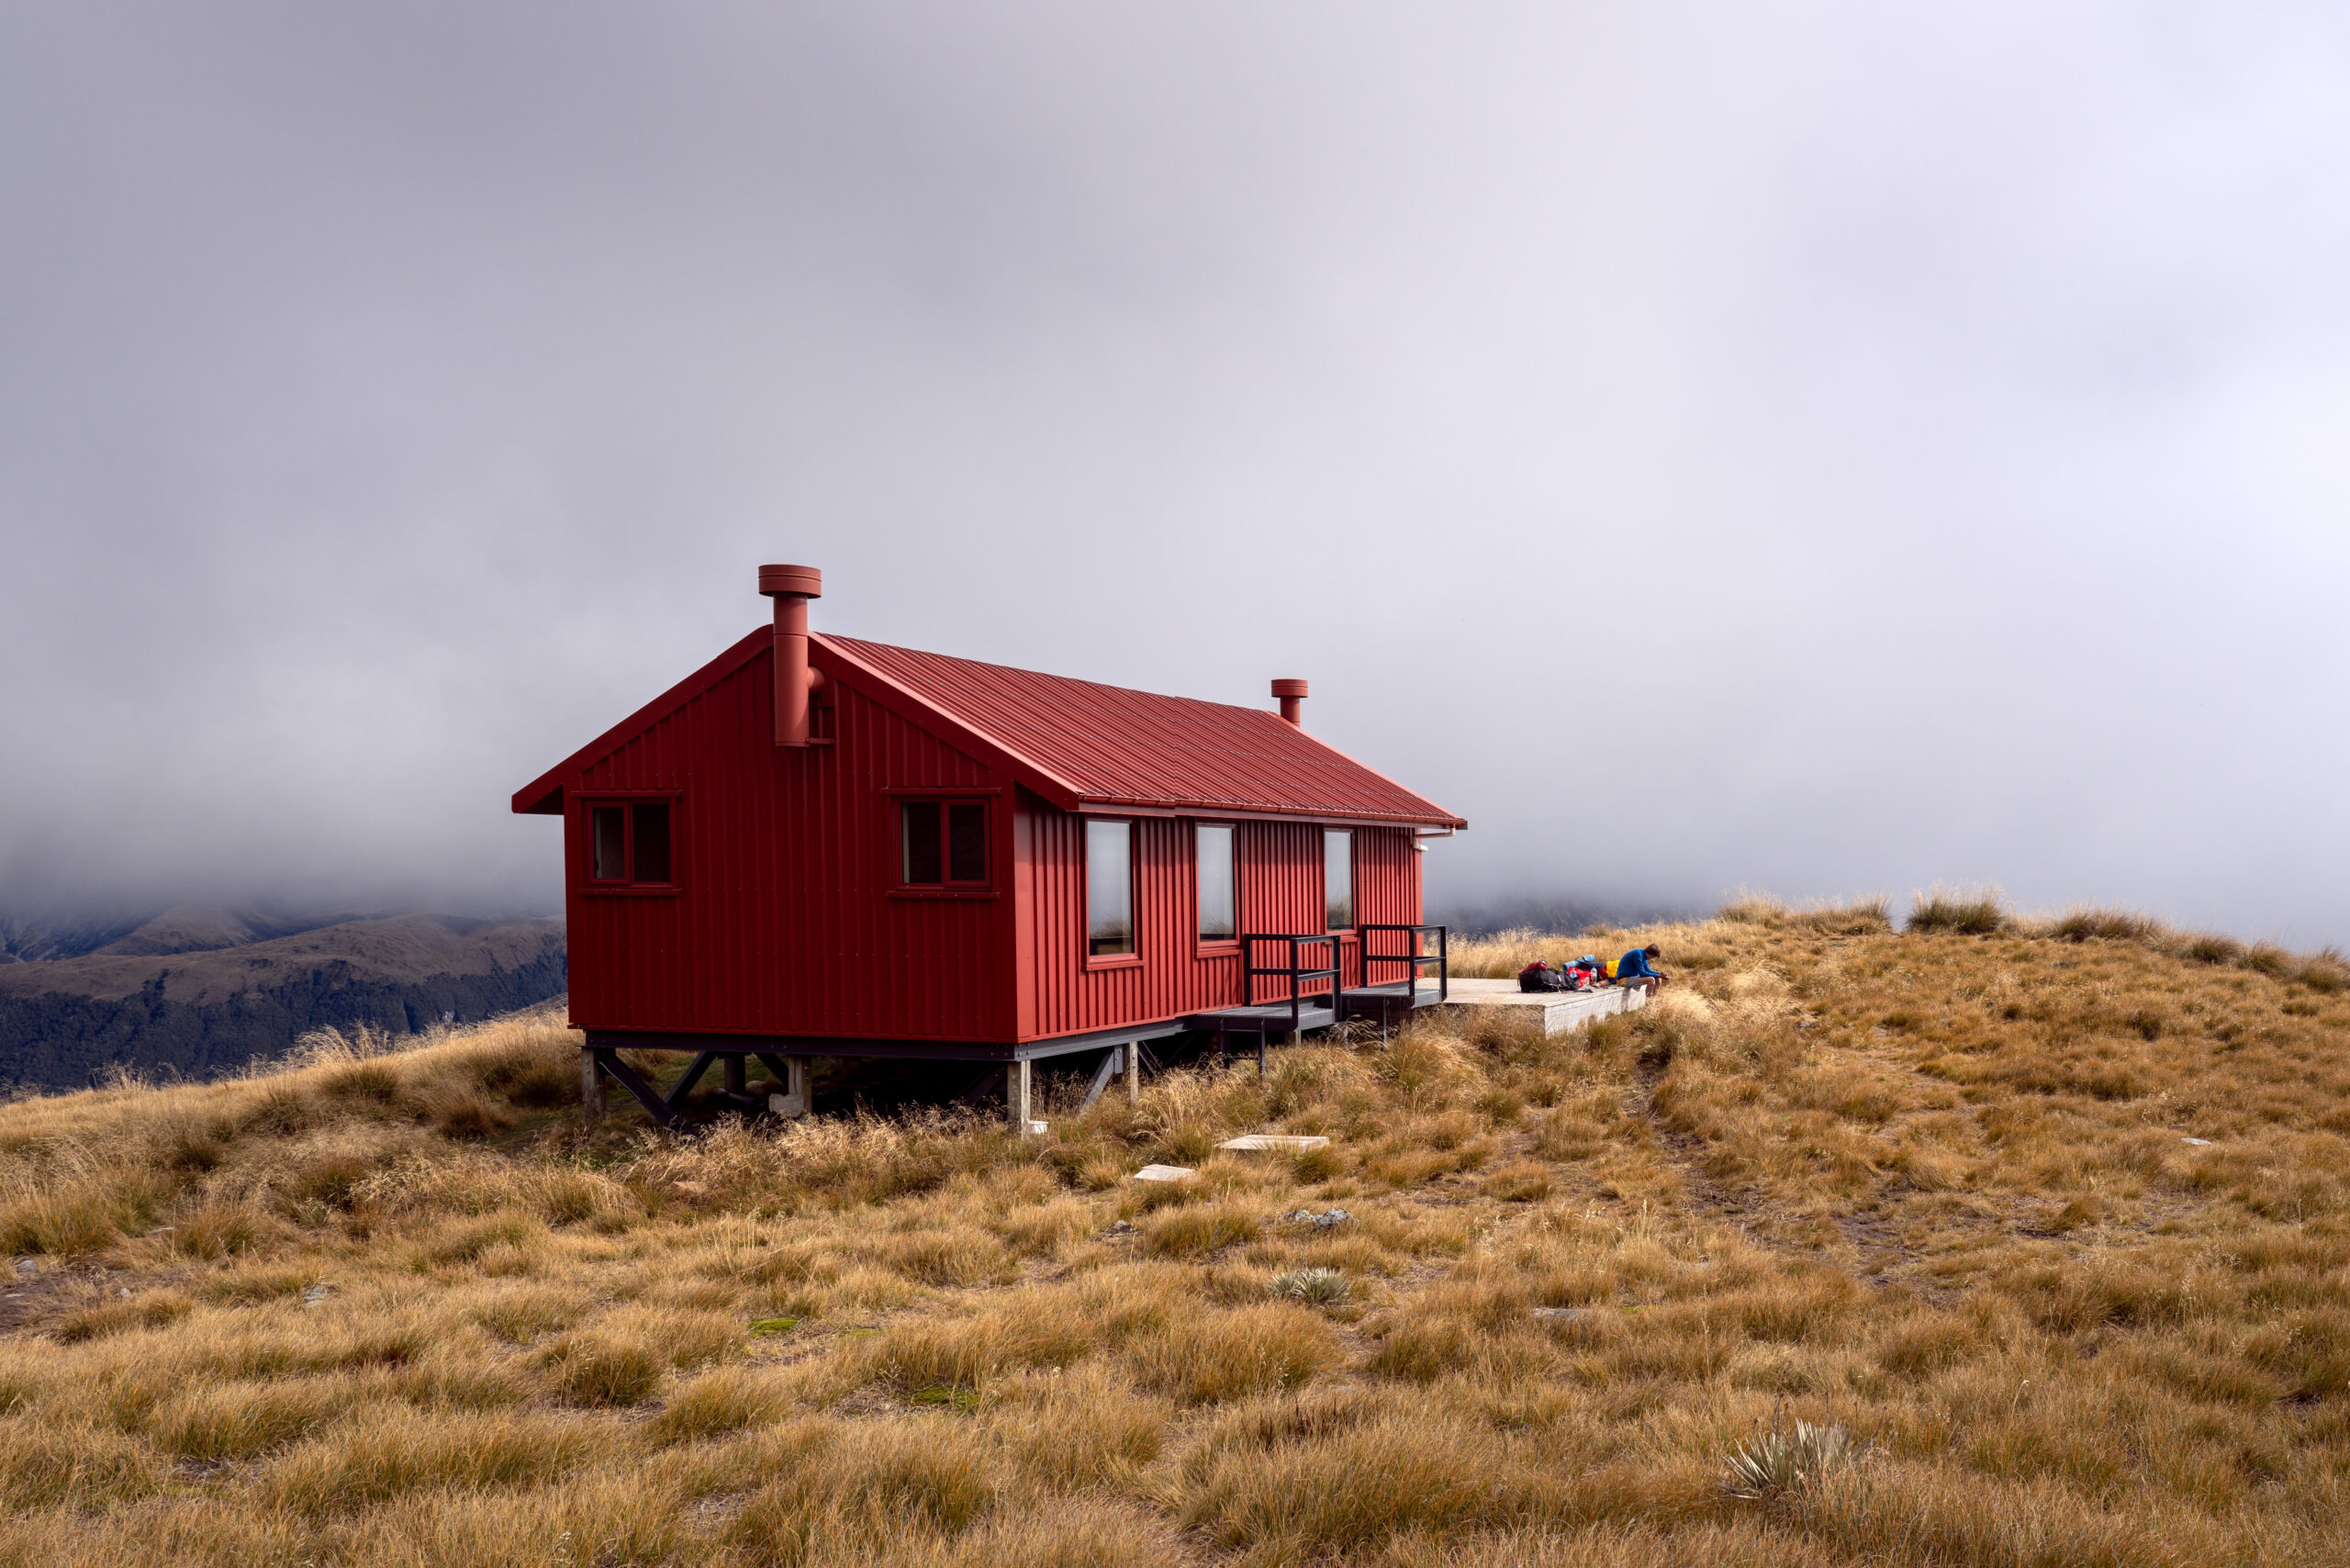
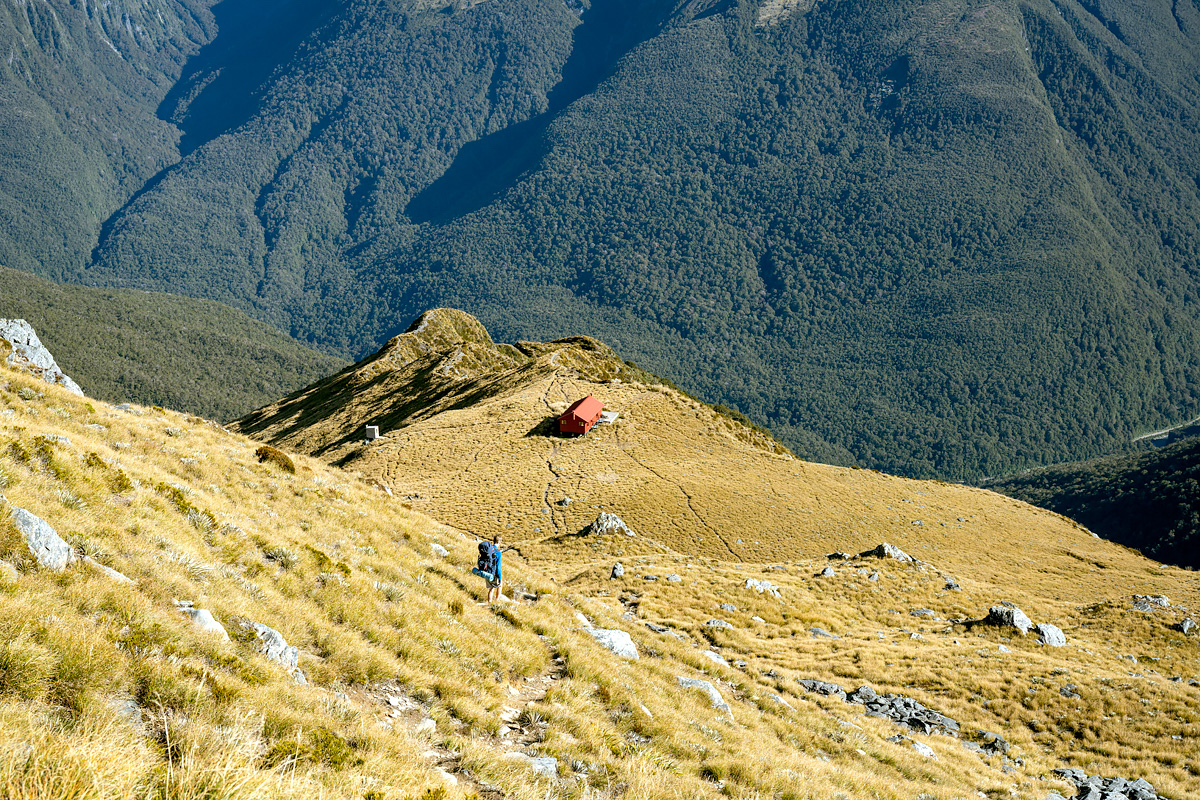
The 12-bunk Brewster Hut, reached via a brutal 3-hour climb from the valley floor
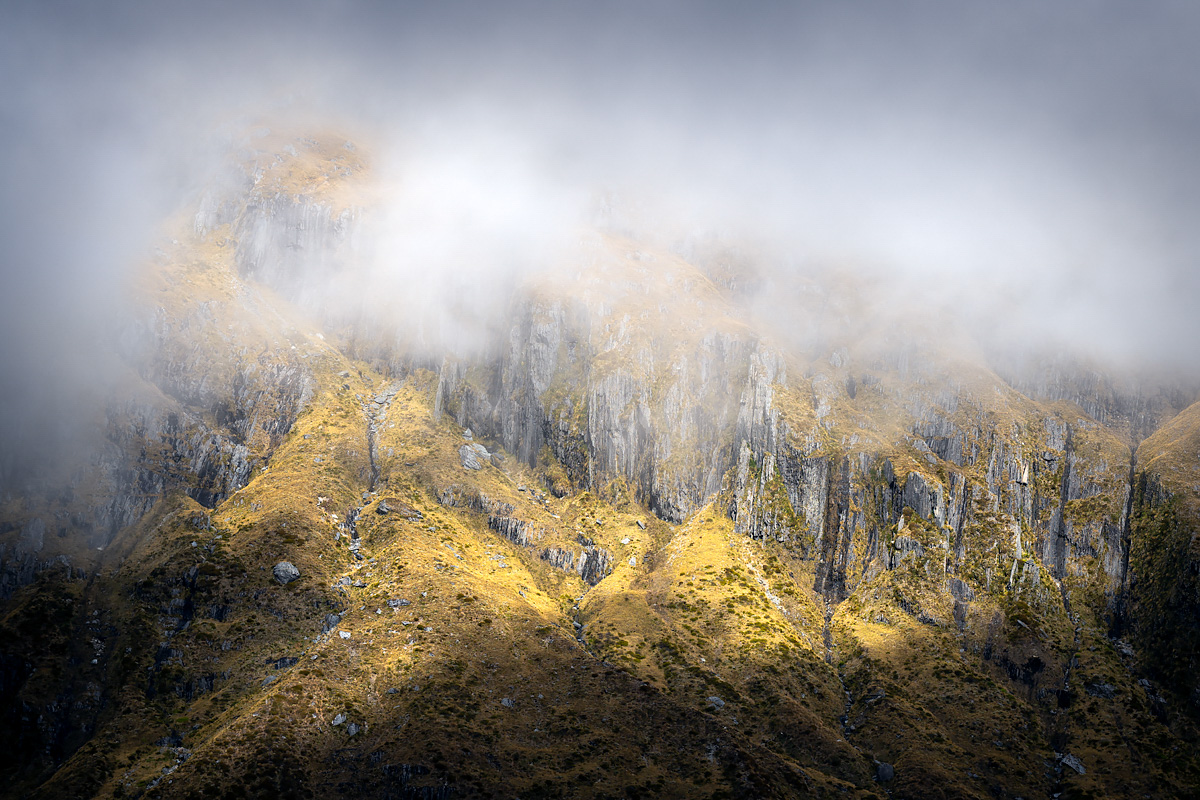
Soon after we reached Brewster Hut the cloud began to lift
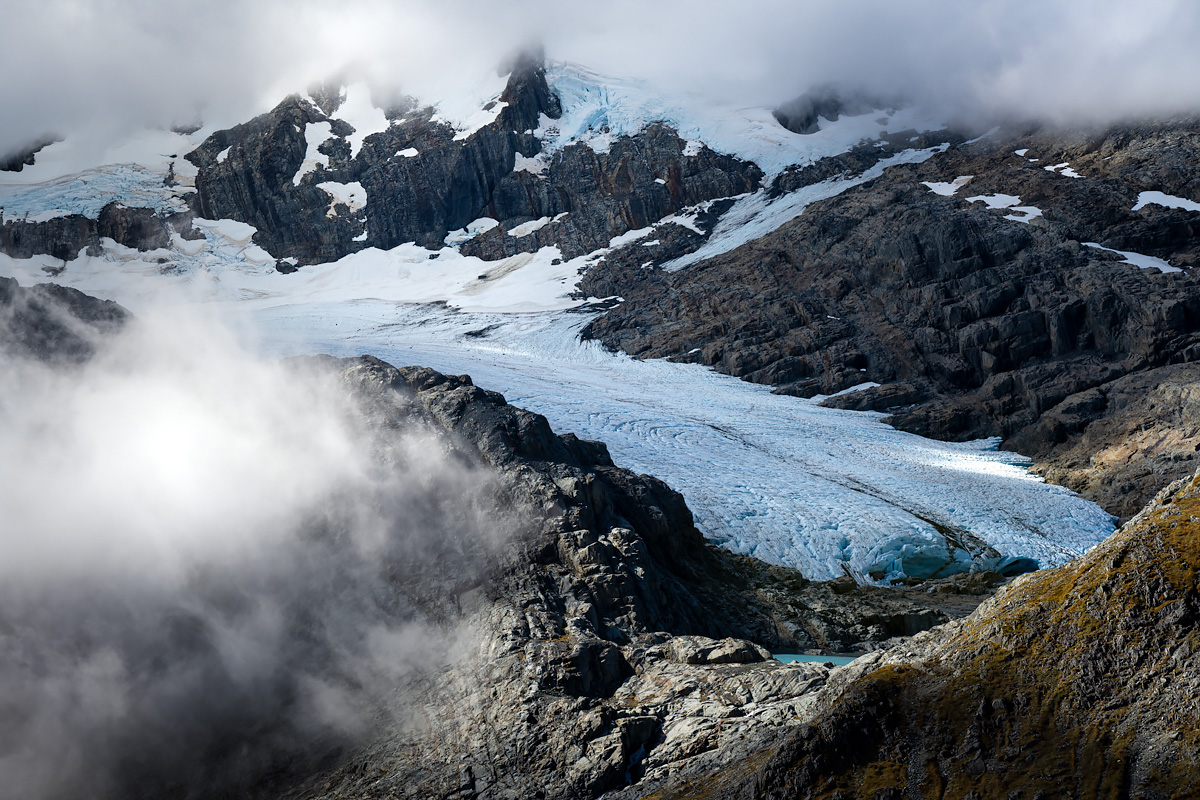
Oh what a sight! Our first glimpse of Brewster Glacier; the summit of Mt Brewster (2516m) is veiled by cloud
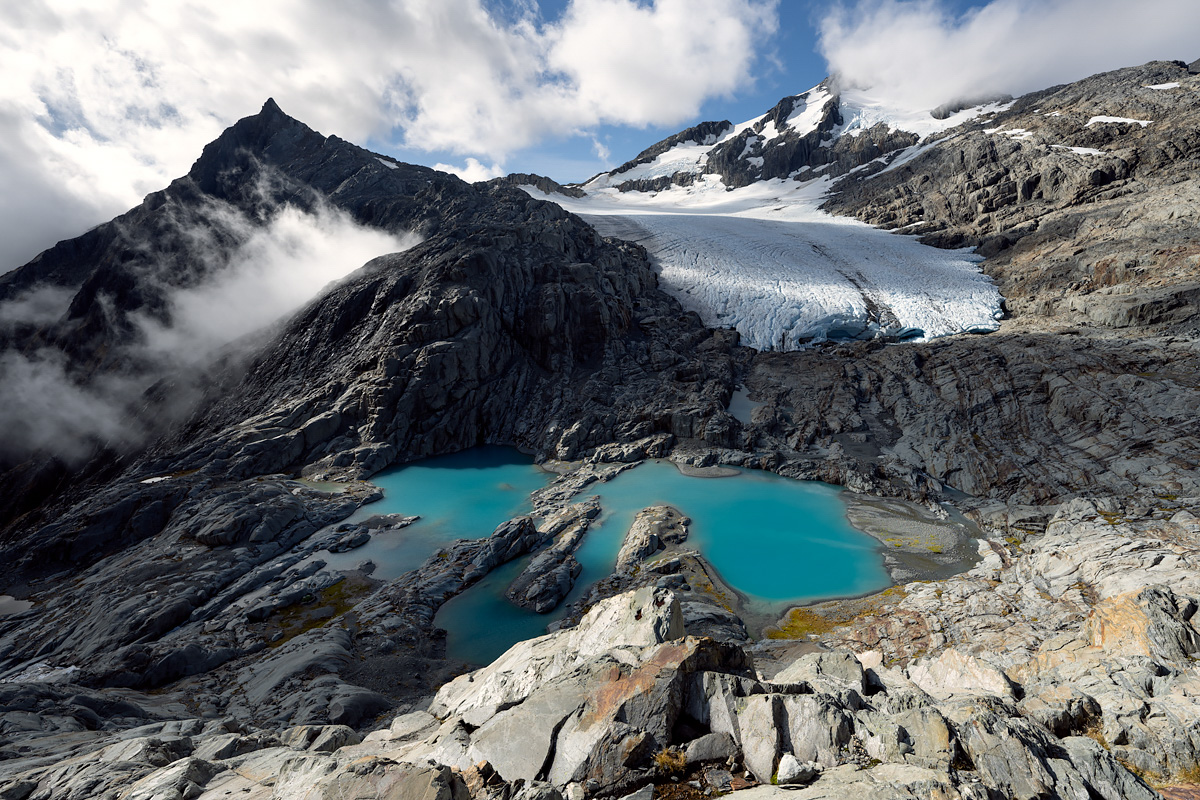
Nearly at our destination, but not before a scramble down through a steep bluff maze (not for the faint-hearted)
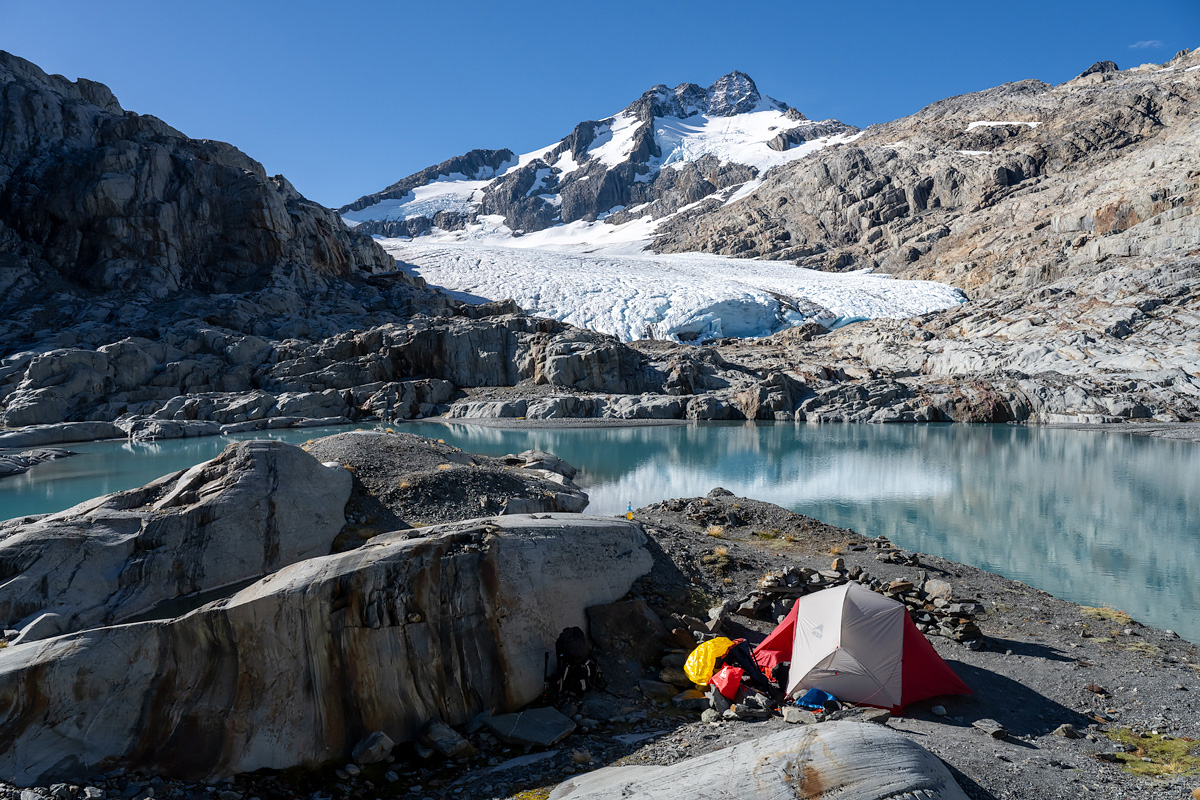
Does a campsite location get any better than this?! (Mt Brewster at the rear)
A close-up encounter with the incredible blue ice of Brewster Glacier [click image to order a print]

On our second day we scrambled up to the Main Divide and had lunch beside this beautiful jewel of a tarn
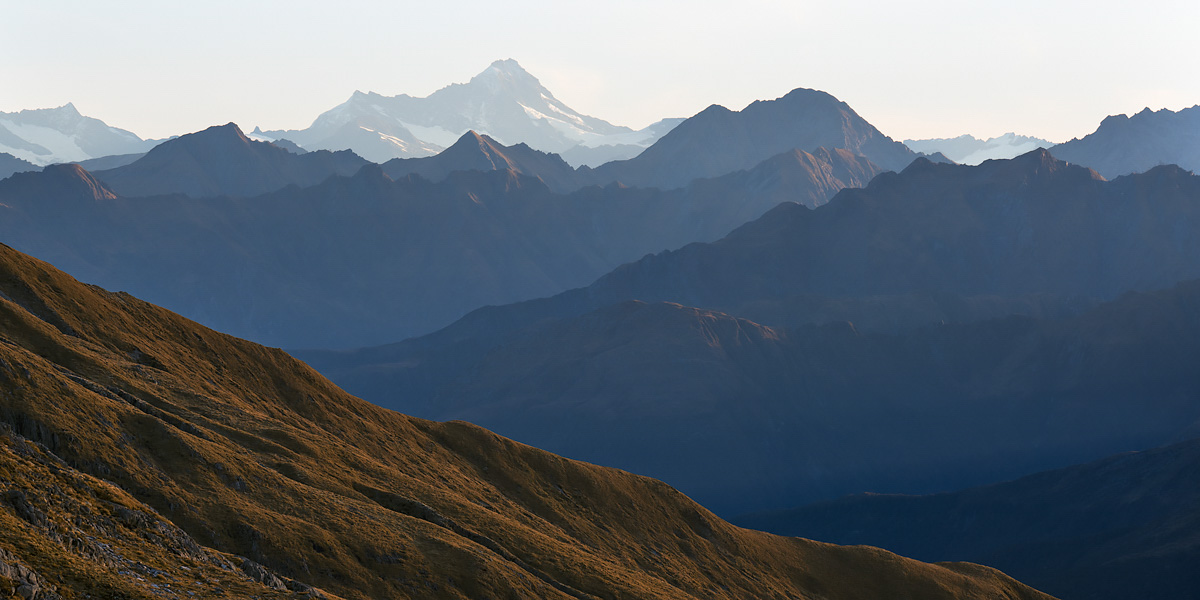
A view across the Southern Alps towards Mt Aspiring (3,033m), located some 65 km distant
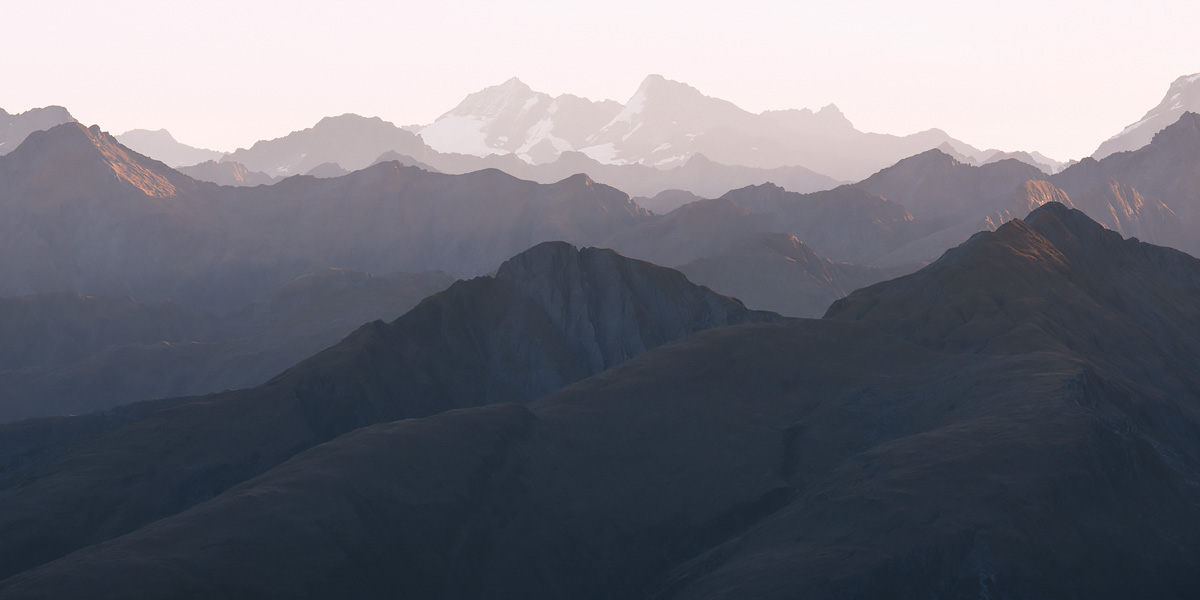
Another view of the spectacular Southern Alps
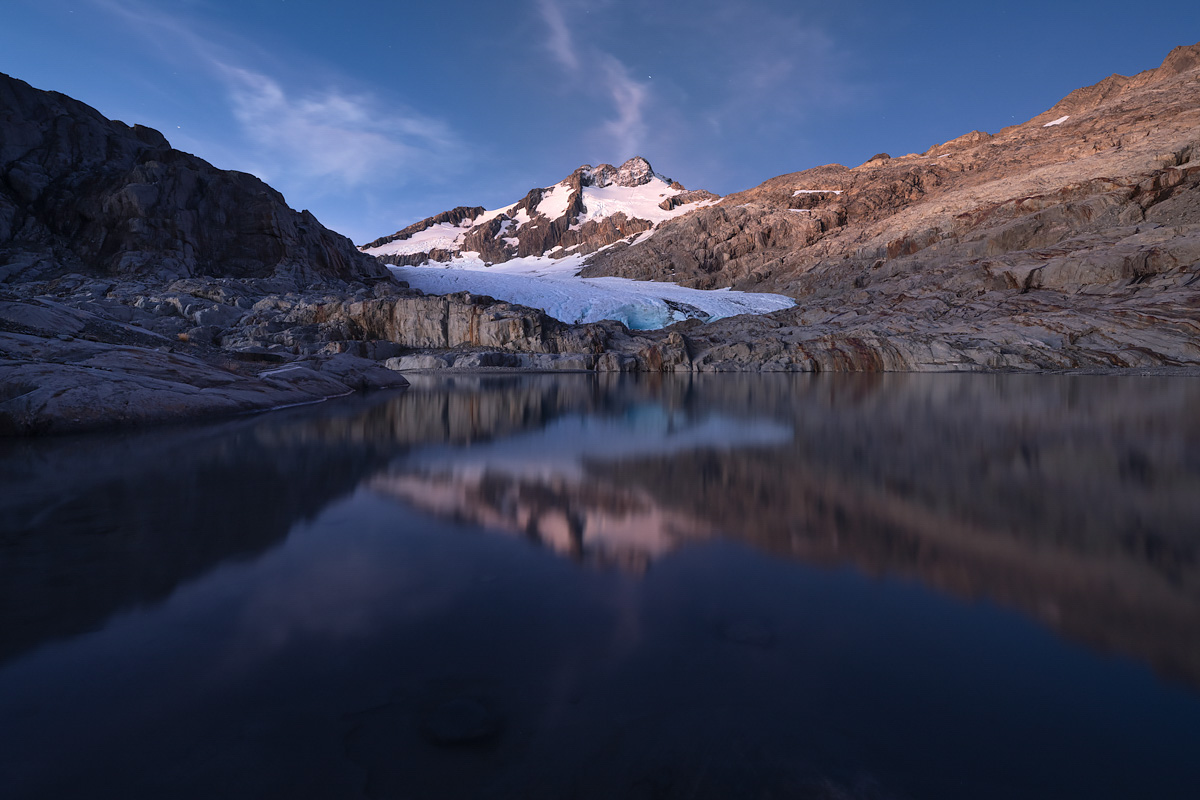
On both nights we were treated to stunning clear skies
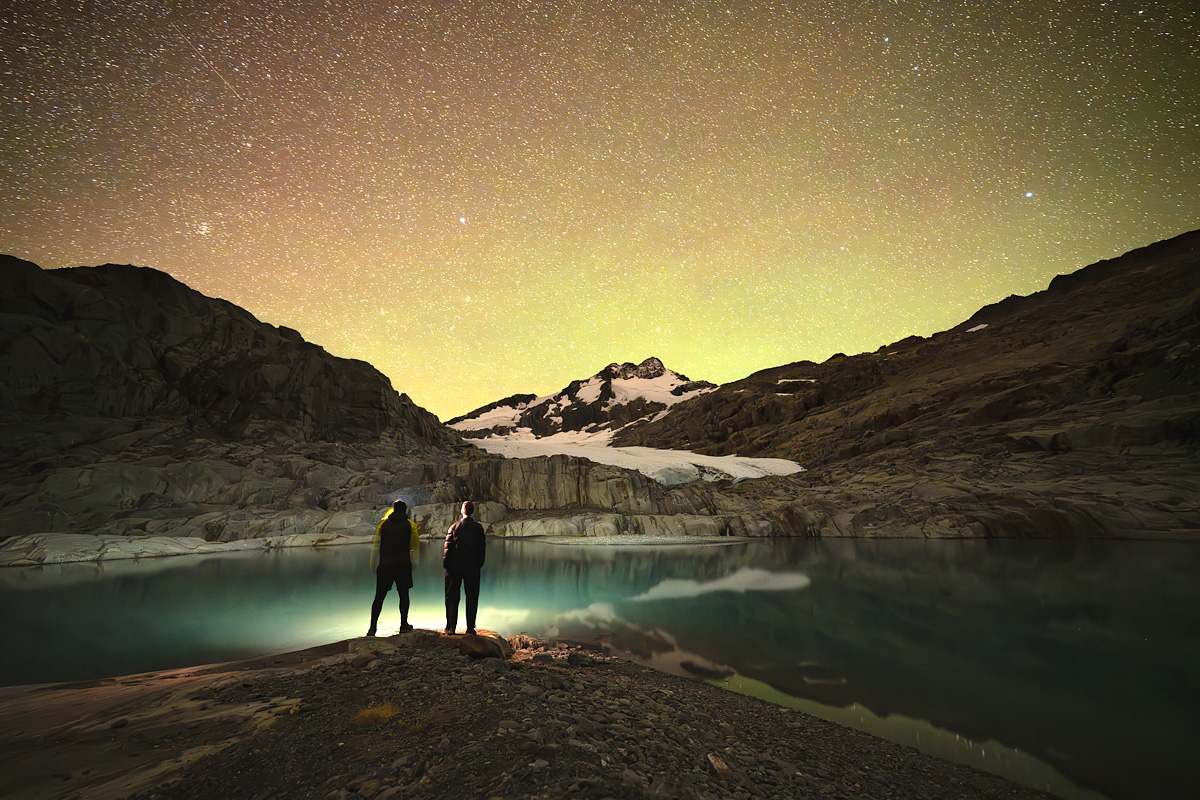
Under a big sky of stars
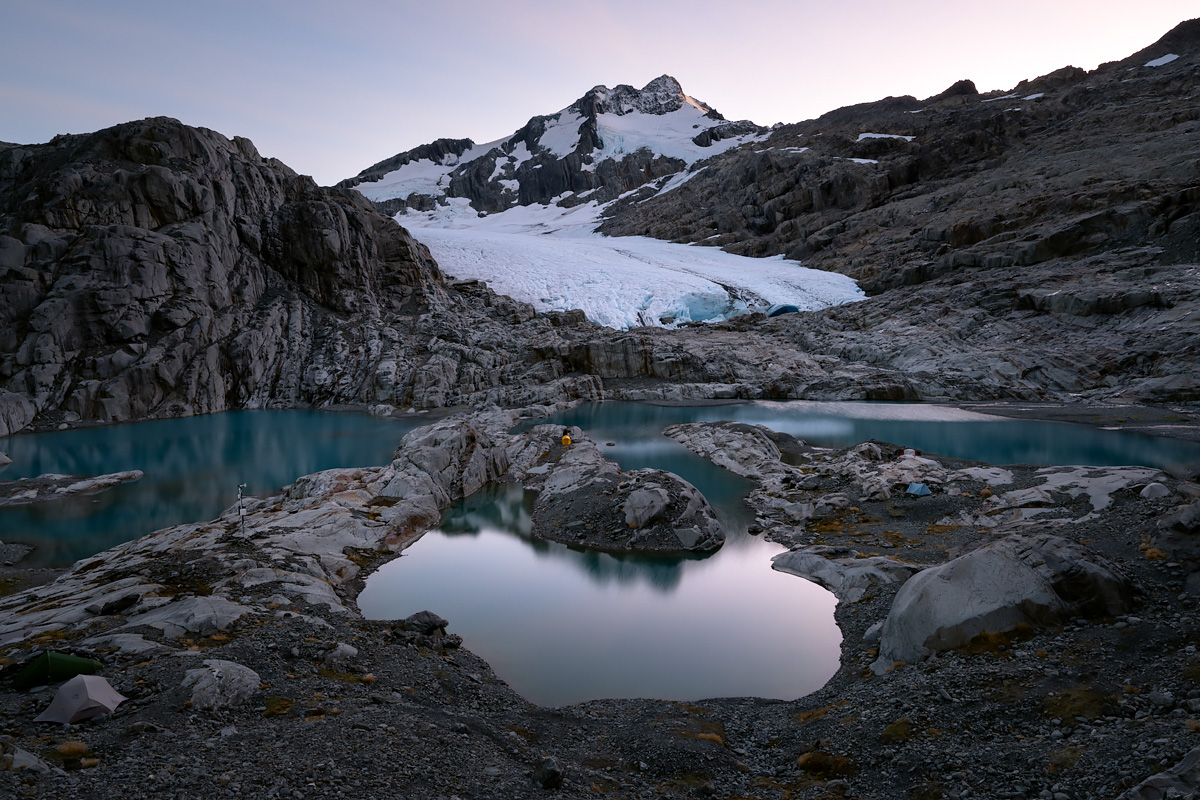
Our two mornings at the glacier dawned very cold and crisp. Several other parties were camping at the lakes.
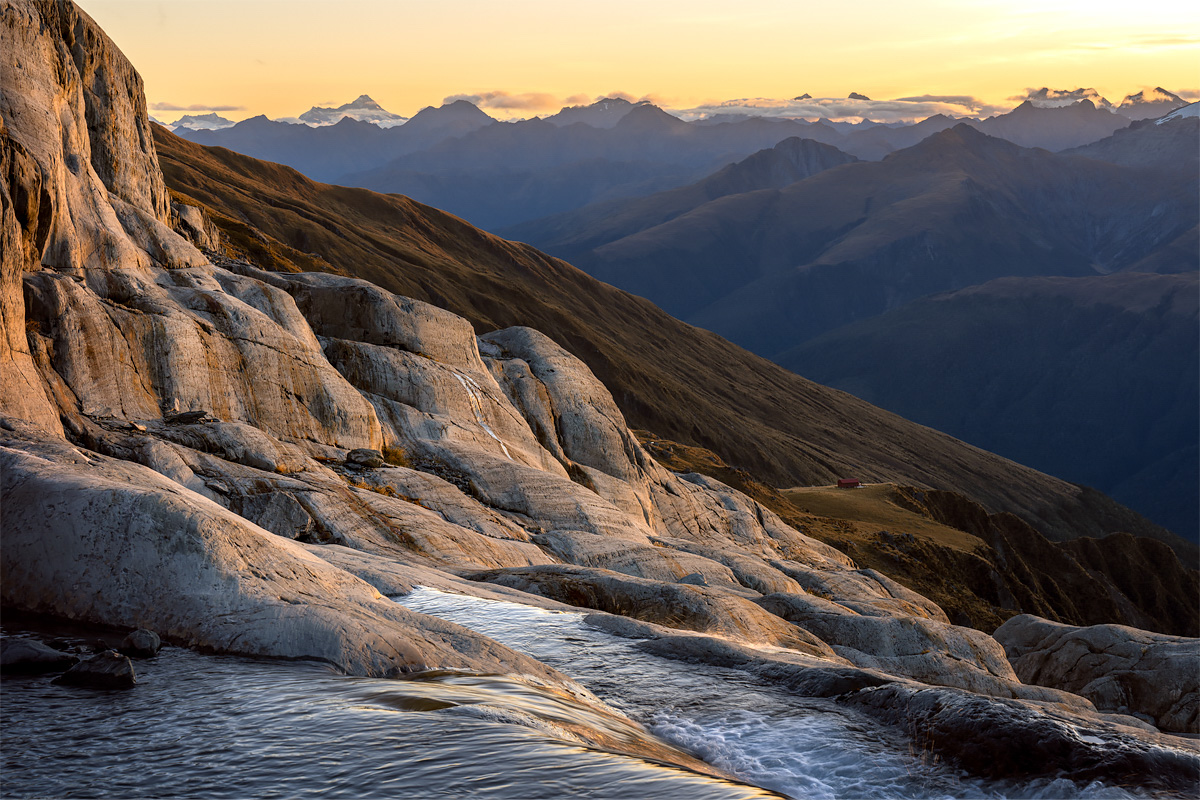
The water flowing from Brewster Glacier’s meltwater lakes soon cascade down steep bluffs. In this shot Brewster Hut can be seen on the centre-right of the image.
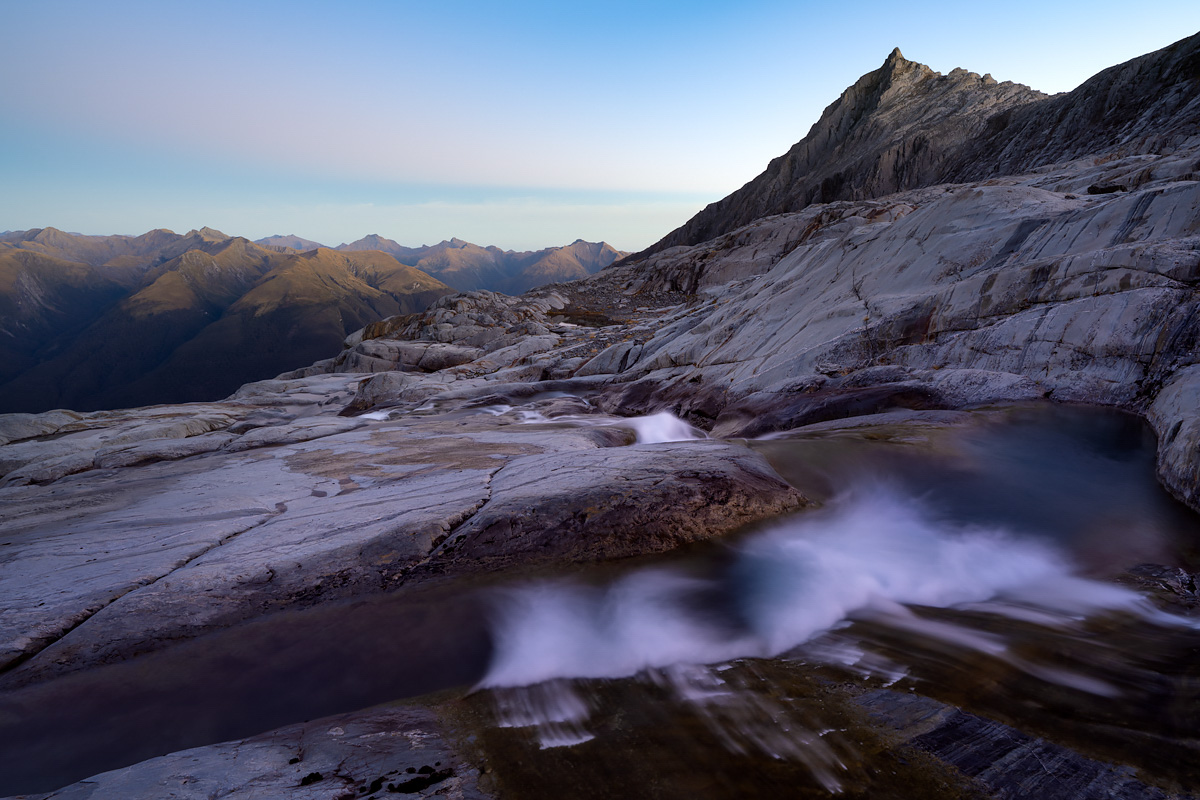
The cascades feed Pyke Creek, which joins the Haast River around 4 km downstream
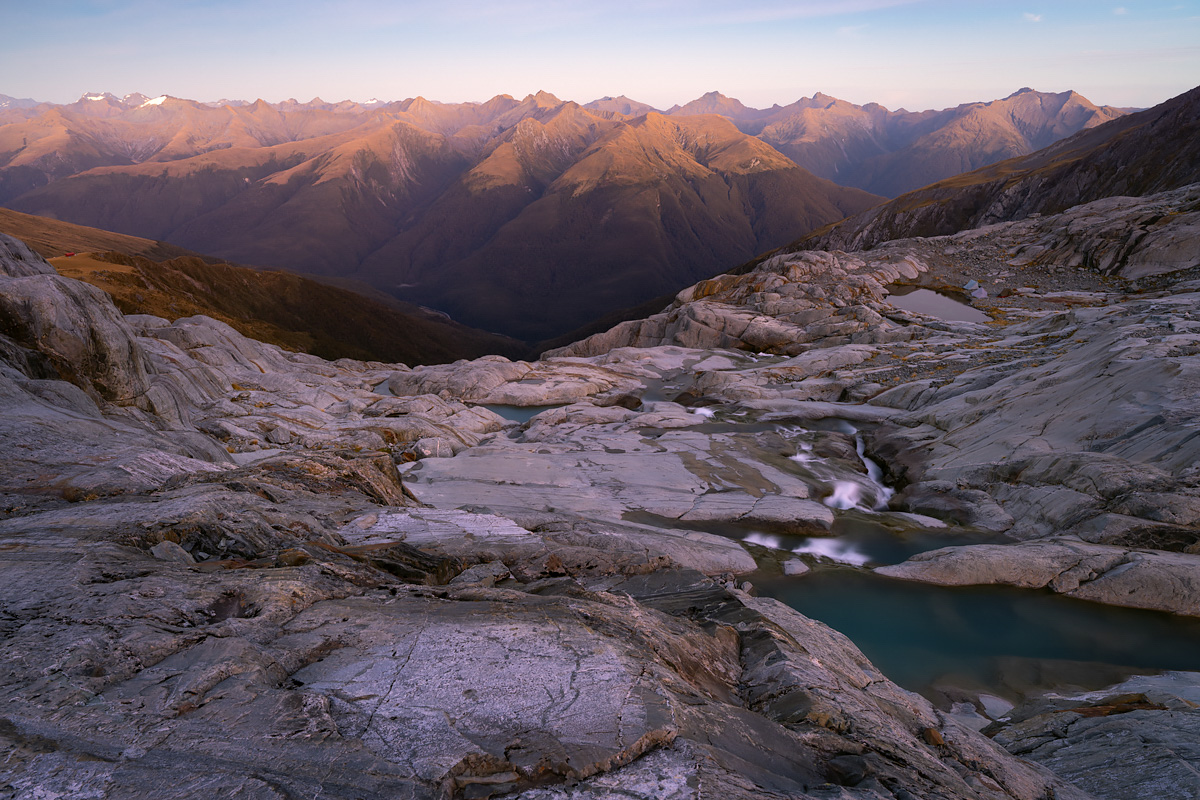
The early glow of a new day
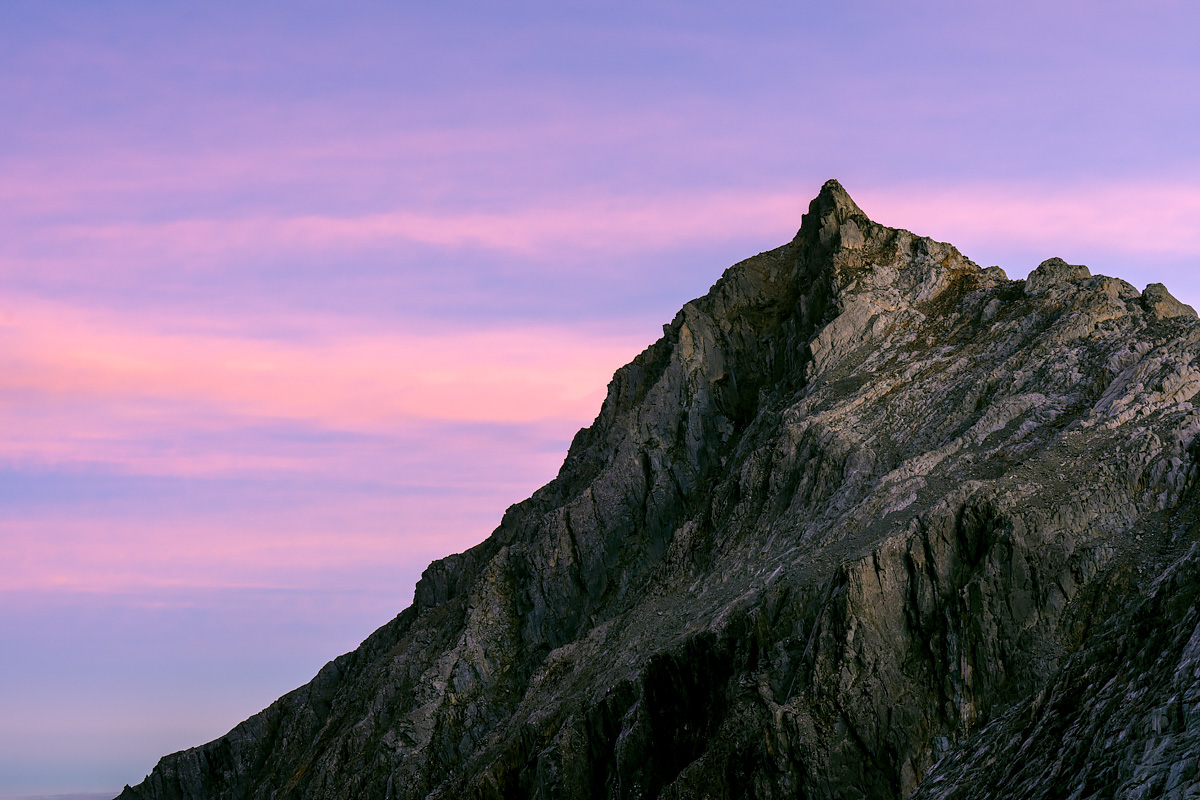
This jaggy peak of the delightfully named “Topheavy” (2,076m)

One final look at Brewster Glacier before we depart


Leave A Comment