My review of the Epson SureColor SC-P600
Whenever I arrange a print for a customer I always outsource to a local lab. Surely they can do a much better job than me, right? My past experiences with printing from home have been met with frustrations around quality, colour management, and generally not getting the high-level results I expect. And so I haven’t done my own printing for several years now.
Meanwhile I’ve kept an occasional eye on the progress of printer technology and have seen some big advances being made. These days I’m selling more and more prints so thought the time had finally arrived when I should take another look at the home printing option. And so it was with some excitement, but also some trepidation given those past experiences, that Epson New Zealand gave me the chance to put their Epson Surecolour SC-P600 through its paces.
Key specifications
- Paper – Up to A3+ paper size (483mm x 329mm) – a maximum length of 3.28 m is possible with roll paper
- Ink – Ultrachrome HD 9-colour system (Photo Black, Matte Black, Light Black, Light Light Black, Cyan, Vivid Magenta, Yellow, Light Cyan, Vivid Light Magenta) – each colour is individually replaceable
- Print resolution – 5760 x 1440 dpi
The full list of specs can be found on Epson NZ’s page.

Setup
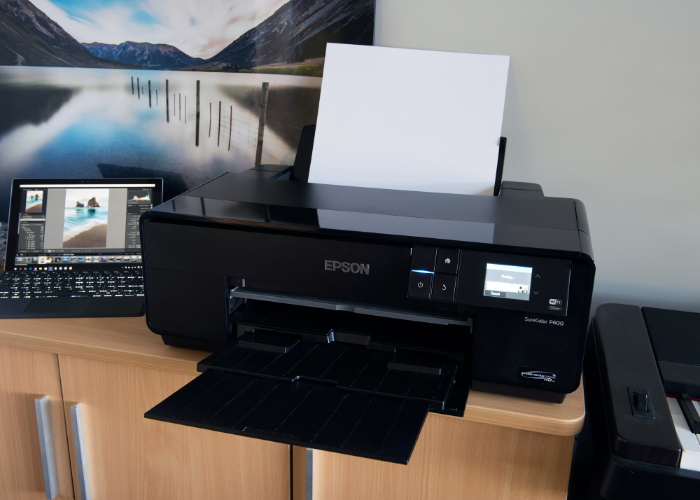
When I first opened the box my mind immediately turned to where exactly I’d place the SC-P600, for it’s a sizeable beast! In the end it wasn’t as much of a problem as I’d imagined, with it fitting perfectly on top of what is a fairly narrow credenza.

The SC-P600 has the choices of Ethernet, USB or wifi connectivity. I chose the latter and it seamlessly connected to my home network during the driver installation process. The remainder of the install process went perfectly, with the software automatically updating itself over the internet once it Save had completed the install from the CD.
Right, time for a test print! I loaded an A4 sheet of the ‘Hot Press Bright’ paper supplied by Epson but then noticed it didn’t seem to be an available paper option in the print setting dialog on the computer. Thinking it must be a driver install issue, I attempted to reinstall and update the driver again but no luck. I then decided to download the driver directly from the Epson website and install. Bingo! I was subsequently blown away by the quality of the first print, but more on that soon…
The SC-P600 accepts a wide range of Epson media types, including glossy, premium glossy, archival matte, premium lustre, and velvet fine art. Standard papers are loaded by the sheet feeder on the top of the printer, whereas fine art paper needs to be loaded manually one-sheet at a time via the front of the printer. The printer driver reminds you which feeder to use when you select the paper, and the touch-screen on the printer provides helpful guidance instructions in case you forget.
Performance and quality
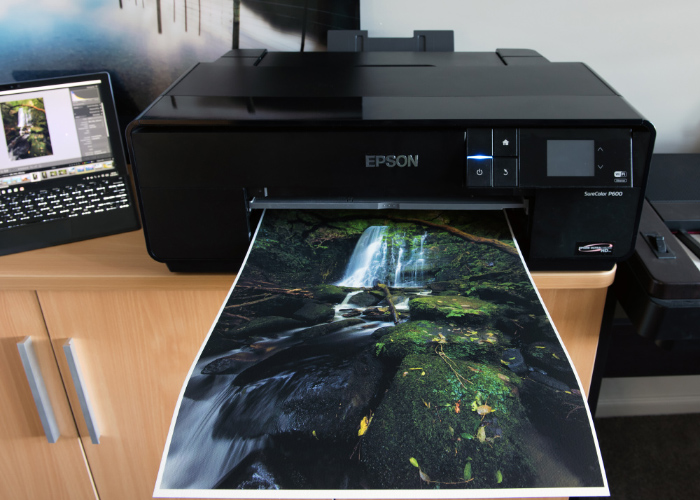
As I hinted in the intro, my past experiences with home printing have been fraught with difficulties getting the colours to match, or even approximate, the colour on my computer screen. I get a touch obsessive with such things! So as a first trial step I thought I’d simply do the least effort possible and see what the printer came up with. I loaded up a picture in Photoshop, set the printer to handle the colour management, and pressed print. And wowzers! The first couple of prints just blew me away with how close they got to an ideal outcome.

Over the next series of tests I tried a number of different images containing various degrees of dynamic range, colour intensity, and tonal graduations. The colour reproduction in particular was always perfect. Probably the aspect I spent most time fiddling with was attempting to approximate the overall ‘punch’ and contrast of the image, which is always a challenge when transitioning from a computer monitor to paper. It’s made even more difficult by the different results you get with the same image on different paper types. But this wasn’t really an issue with the printer itself, but more a process of me learning how the various papers performed relative to what I was seeing on my screen. I got there eventually.
Speaking of paper, Epson kindly sent me a heap of different media types to try. I loved seeing how the same image would take on a different appearance and textures depending on media. My absolute favourite was the velvet fine art paper, which in spite of the grainy texture on the paper produced amazing depth and clarity, and gave the image a luxurious and high-end feel.

One thing I noted in changing between matte and glossy paper is that the printer had to switch between its photo black and matte black cartridges. This takes a couple of minutes and apparently uses up a bit of ink in the process, so it’s a case of managing your workflow to minimise swapping backwards and forth between paper types.
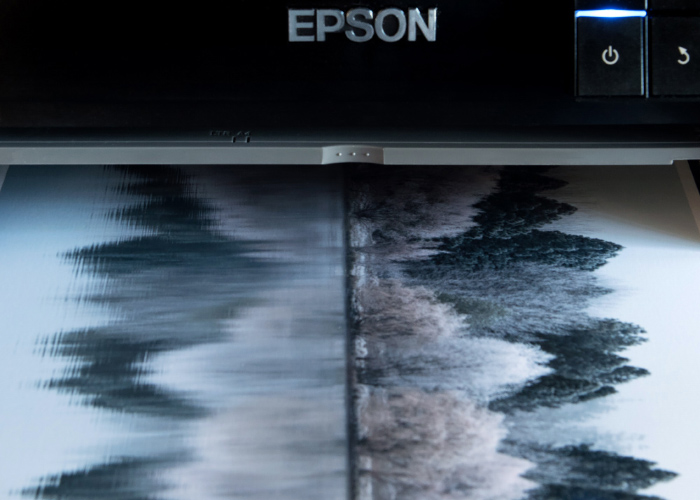
I didn’t pay particular attention to the print speeds, as in my workflow quality comes first. I always set the print drivers to the highest quality settings and switch off any options which push it to print faster. That said, the A3+ prints came out a lot quicker than I expected, averaging around 4-5 minutes.
I printed around 20 images, most of which were in the A3 to A3+ range and didn’t notice any drastic drop in ink levels, although it was clear the black inks cartridges were being used most often. Each cartridge currently retails for about $60 NZD, so if you were filling the printer from scratch that’s a $540 outlay. But being individual tanks you only need to replace on an as needed basis.

Conclusions
I’m so impressed with this printer. Any qualms I’ve previously held with the concept of home printing have just disappeared. At a retail price of $1,599 (NZD) it can readily replace the lab and make back its outlay in no time! But now I can’t decide – should I buy a SC-P600 or move up to its big brother, the A2+ SC-P800. Decisions, decisions!

Leave A Comment