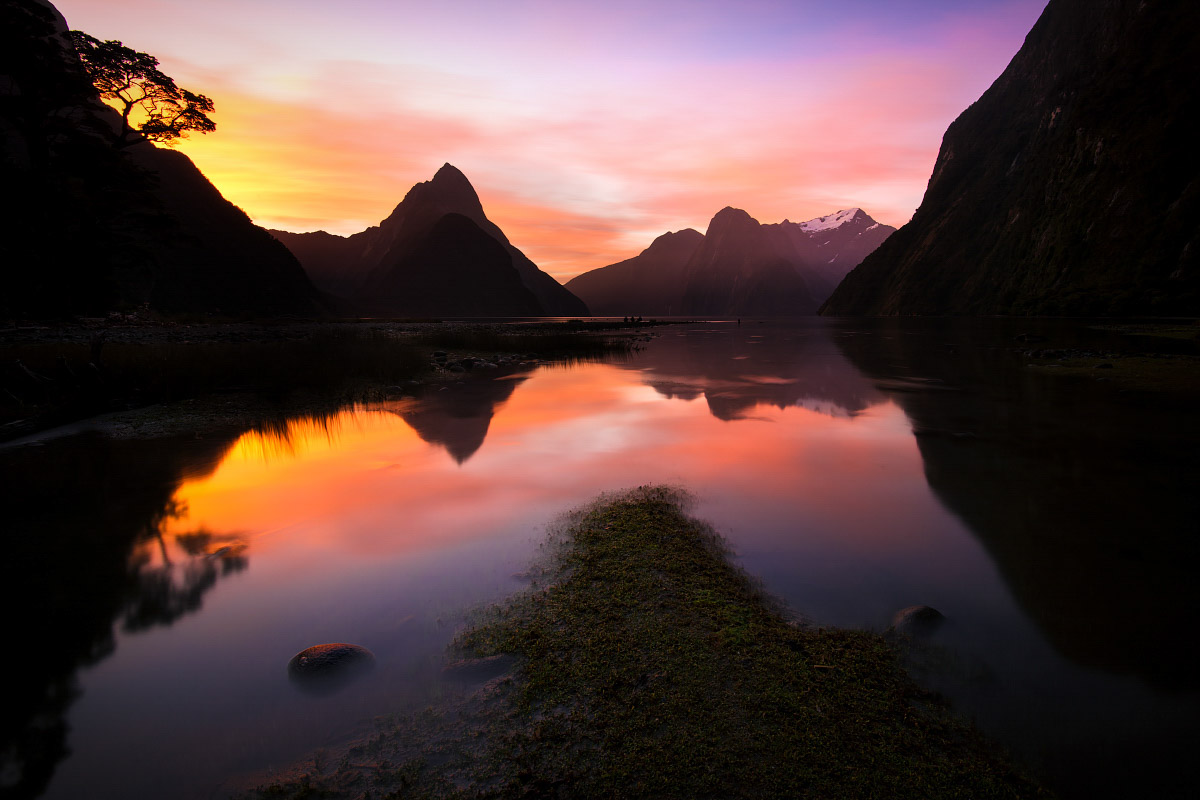
A Brief Guide to Water Reflection Photography
What is it about a water reflection that’s so satisfying to the eye and soul? Maybe it’s the magnificence of perfect symmetry, something which is otherwise rare to find in nature. Is it the peace and calmness that such scenes evoke? Or is it simply that a mirror affords us twice as much beauty?
Whatever it is, water reflections make for some of the most amazing landscape imagery.
Lake Matheson is perhaps the most iconic water reflection location in New Zealand.
Conditions
Stating the obvious perhaps, but the lesser the wind the better the reflection. Speaking from experience in New Zealand, days with absolutely no wind are a rarity. The greatest chance of a mirror reflection is generally first thing in the morning before thermal processes crank into gear (movement of air – AKA wind – caused by differential heating and cooling of the land and sea). Not to say reflections don’t happen at other times, but that’s usually the best bet.
Not all is lost if there’s a little bit of breeze; ripples and waveforms can add some texture and enhance a shot. If the wind has picked up to the point there’s a shimmer across the water, reflection magic can still be achieved. The use of a neutral density filter to increase the exposure time will blur the water movement and create the illusion of calmness. Typically an exposure in the 10’s of seconds will be required so a tripod will also be necessary.
To avoid harsh and unattractive glare from the water surface you’ll need to be shooting when the sun is lower in the sky, i.e. early morning and later in the day. Shooting in the midday sun can lead to unsightly highlight blow-outs (bright white patches) on the water.
Getting a reflection at Milford Sound / Piopiotahi is usually best achieved by timing your run to mid to high tide conditions, when shallower and more sheltered pools lead to stiller conditions.
The earlybird gets the conditions; this sunrise at Lake Te Anau was surreal for both its calmness and light quality.
It’s a rare occasion when you’ll find Lake Wakatipu looking this calm, especially this late in the afternoon – but it does happen!
Composition
Have you heard of the rule of halves? Neither have I! And that’s because placing your main subject in one half of the image or running the horizon line across the centre of the frame usually makes for an unbalanced composition. Water reflection images are one of the exceptions to the rule, where symmetry can make for a more balanced shot. That said, most of the time I don’t go for a perfect 50:50 split, preferring to leave more foreground/water than background in my shots. This helps pull the eye through the image a little better.
But as you know, rules are made to be broken and there are plenty of other ways of composing a compelling reflection shot. One approach to consider is to frame most (if not all) of the background and sky out of the image; if the reflection is already showing those details then why show it twice?!
A couple of things to watch out for. If symmetry is your objective then try not to crop off the top of your hero subject matter (be it mountains, trees, or a building) in either the background or reflection. Also keep a close look out for any objects in the water (e.g. a protruding rocks) which might partially mask the reflection of your hero subject – you may need to re-position and reframe your shot. Lastly, be sure to keep the horizon line level as in reflection images a wonky horizon will be especially apparent to the viewer.
This shot makes use of two-thirds foreground, with the lake component revealing more of the sky (via the reflection) as well as the sub-surface rocks.
This composition of Lake Heron is made stronger by inclusion of some foreground interest in the form of the log and ripples, the latter added by me chucking in a rock!
Technique
Focusing on the water around one-third the way up the image, while using an aperture of around f11, is usually sufficient for getting everything sharp in a water reflection shot.
Use of a polarising filter can assist in cutting some of the surface glare and opening up a better view of sub-surface elements such as rocks, which can provide a stronger foreground interest. However, this obviously reduces the impact of the actual reflection, so you may need to rotate the polariser into the sweet-spot to get the best of both worlds.
Fog on a cold winter’s morning masks the background behind the trees and in the process creates a more abstract and stronger image.
Great light and a limited colour palette makes for a simple but compelling water reflection image.
Any tips I’ve missed? Let me know in the comments!
If you’d like to see more of my reflection images please head over to this page. All images on this website are categorised by feature, so if you want to filter the gallery by say mountains or structures you can do so!


Great blog, left me with new perspectives to think about when I next shoot reflections. Thanks Dan
Cheers Trish, all the best trying these tips out!
Excellent tips and beautiful photos
Thanks so much, glad you found it useful 🙂